My inky travels along life's rocky road

Sunday 31 January 2021

A Special Card

Usually I'm all about simple cards - much as I like seeing them I'm not really into making technically fiddly cards. However with things the way they are at the moment I've been occupying myself with things I have that I had previously put aside as being 'too fiddly'. The Altenew layering stamp that I used in a previous post was one thing and the Card in a Box was another. 

I bought a Pop-up Die set by Stampendous a couple of years ago in a sale. There were co-ordinating stamp sets which were not available at the time but I thought the dies might come in handy one day. That day finally arrived! I was trawling through Pinterest searching for something when I found instructions for using the die set. I dug the set out and had a play - I have a friend's birthday coming up so made it with that in mind.

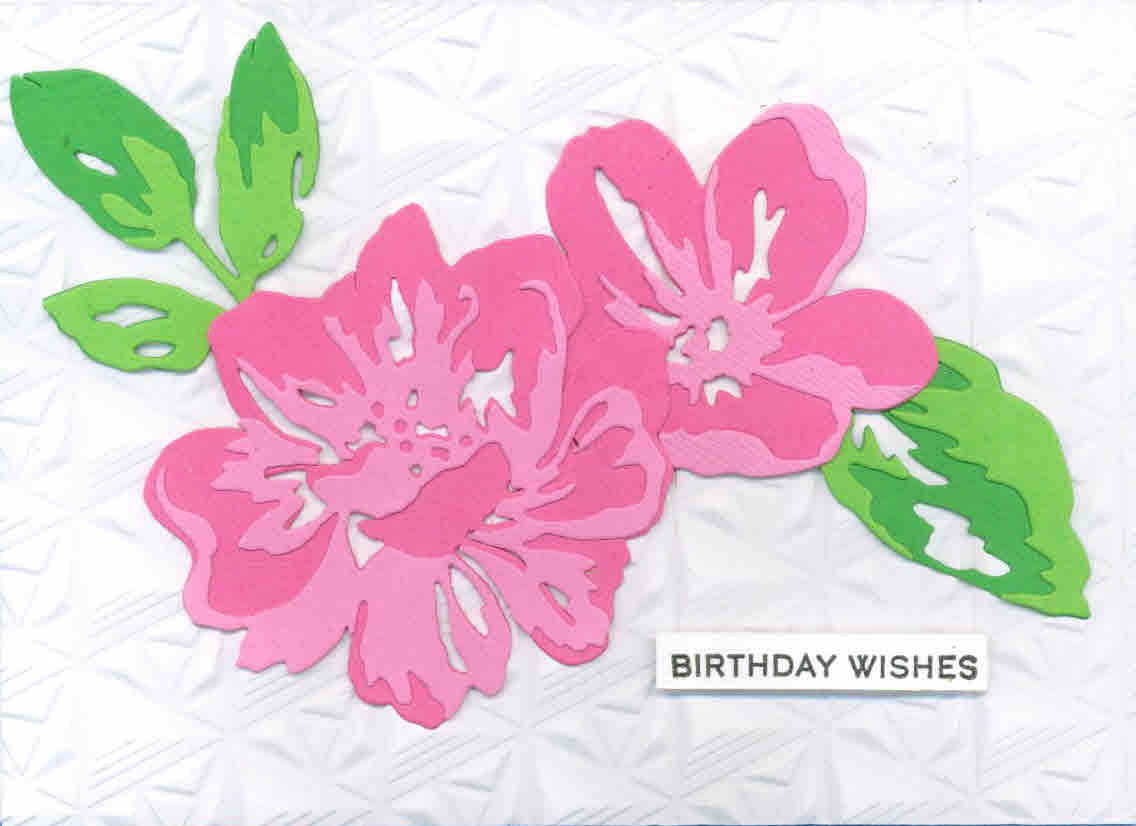
The front is very CAS as you can see above. Inside is...


The instructions were very clear and now I've made it once I have a better idea of how the pop-up mechanism works. The edging die I used to cut the fancy top and bottom was included in the set as was a set of small nesting ovals and labels which I've used for the sentiment at the top and I have another in cream card to stick on the bottom half for us to sign. The patterned paper is from DCWV Serenity Stack. 


I used a Sizzix set called Garden Florals for the jar and the flowers which I coloured in with alcohol markers. The orange flowers were made with a punch. I'm not the greatest flower arranger but I'm happy with the way it looks (yes I realise that if it was a proper glass jar the stalks would show through but let's pretend it's a white opaque jar). You can see the dimension more clearly below:


The beauty of it is if the flowers are attached correctly it all folds flat to fit in an envelope.


Thursday 28 January 2021

Mini Book


On one of the lower strata of my Pile of Shame I discovered a project I had started a long time ago. I had bought an old children's board book from a charity shop (I think it was farm animals) and had started working on it but it had disappeared over time and lay unfinished on my desk. I rediscovered it during my recent desk tidy-up and it went into my ziplock bag of items to be dealt with.

I had covered and decorated most of the pages so it didn't take long to complete. It's a random collection with no particular theme but I have enjoyed finishing it with bits and pieces from the ziplock bag and some washi tape. Here's a quick run-through of the pages:


Monday 25 January 2021

Tackling the Pile of Shame!


 My desk has long been a source of shame and I've been meaning to have a tidy up and get rid of all the little bits and pieces that I seem to collect. A post on one of the forums I visit about tidying up finally gave me the push that I needed to do something.


Everything got cleaned, my cutting mat got sanitised and switched around (I always cut in the right hand corner and it was showing signs of wear).


The pile of shame is now a ziplock of bits and pieces and WIPs (works in progress). The end result is very satisfying and has made me contemplate sorting out a few more sections of my room (soon).


Sunday 24 January 2021

Altenew Beautiful Day Revisited


January is usually a great month for relaxed crafting after the rush and pressure of Christmas card making and at the moment keeping occupied is an essential. I bought this Altenew beautiful day stamp set shortly after it first came out and have had a few goes with it but I never seemed to match the layers up successfully. The Altenew website has lots of handy hints and so I decided to try again.

 This time around I had the benefit of my stamping platform which made things a whole lot easier and I used an A5 sheet of card which enabled me to stamp a flower in each corner and a pair of leaves in the middle. The colours I used were (from the first layer up) Impress cupid pink, Impress old rose and Versafine habanero with Versafine onyx black for the outline. The leaves were Versafine spanish moss and olympia green.

There is a die set to match but I don't have it so I cut all the pieces out and edged them with crackling campfire DO and Versafine spanish moss to hide any white bits. 

This is the first card I made using a piece of blue inked card I found in my scrap pile. I used a Cuttlebug embossing folder called diamond in the rough after spritzing the card with water. This is a really good tip for improving the depth of the embossing without causing the card fibres to crack. I gently ran a blending sponge with faded denim DI over the raised parts to highlight them. I used enamel accents in black to highlight the stamens and added a Crafter's Companion die cut sentiment.

If you are having problems lining up your Altenew layering stamps I would recommend having a look at their website.


Wednesday 20 January 2021

Tactical Diecutting!

 At the end of my previous post I showed an extra image I had stamped. I thought I'd be clever and stamp another image whilst the stamps were in place. I grabbed a piece of patterned paper that was lying on my desk from a previous project and stamped away. Unfortunately not only did I stamp the image but I got carried away and stamped the sentiment as well. 


What was I thinking????? The arty splatters looked like blood when I looked at it again the next day - not at all suitable for a sympathy card. I didn't want to waste the stamped image so with some careful diecutting I came up with this:


An oval nestie with it's matching scalloped oval cut in a metallic pink and some carefully placed gems. I mounted it on a stencilled Archival magenta hue background. I can still see the 'blood' but at least the recipient won't. Did I manage to save this image?

Sunday 17 January 2021

Poppy Sympathy


 Sadly I needed a sympathy card so dug out my Clearly Besotted brushed poppies set. I bought this well before stamping platforms became a thing and used to stamp it freehand with an acrylic block. It was never a problem to line up these particular stamps but a stamping platform makes it so much easier. 

I used Brilliance pearlescent orchid, Archival plum and Versafine spanish moss. The stamens and sentiment are stamped in Versafine onyx black.

I also stamped it on the splatter background paper I used in my previous post. This time I used Archival magenta hue for the base of the flower. 


I haven't made it up into a card yet as I'm not too sure about it - the splatters look a bit like blood to me and I'm not sure it's appropriate for a sympathy card. Perhaps I should have used another sentiment? Oh well you live and learn!

Friday 15 January 2021

Monthly Challenge - January


 This month's letter is:

                              Z for Zigzag

The colour option was Zucchini which I just about managed to get onto the postcard this month.

I had other ideas for this month's entry but then I saw an offer for a die set by Pretty Quick that looked like it had been made for this challenge. It's called the chevrons panel and is a set of 4 dies - an outline which I didn't use, an inner panel that cuts the main zigzags with the circle, a circle die and the Hello sentiment. There was also a matching stamp set that has some sentiments and a floral stamp that fits in the circle which also fell into my basket!

With the miserable weather we've been having I felt the need for some hot colours so I blended mustard seed, spiced marmalade and gathered twigs DIs onto some white card and die cut it with the chevron die. I backed it with some splatter patterned paper and used some extra paper to cut a circle which I embossed with a flower embossing folder. The 'Hello' was cut from the circle waste. I diecut some flower layers in different patterned papers and edged the petals and leaves with the same DIs. These were stacked up and curled to add dimension and a punched stamen and tiny gem added.


Thursday 14 January 2021

Bits & Pieces


 Whilst having a rummage through my pink scrap bag I found an old background I had made. I'm guessing that it was made with scribbled and blended Gelatos. I had then run it through a Cuttlebug paisley embossing folder and outlined the design with a white gel pen. I cropped it to tidy up the edges and added a spare white die cut from my previous post with some purple vellum from my purple scrap bag. The sentiment is from a Paula Pascual set. Isn't it great to use up scraps (even if they have been hanging around for a few years)?

Tuesday 12 January 2021

Alcohol Ink Flower


 I've been playing with alcohol inks and my yupo-type file dividers again. I used stream, sailboat blue, cloudy blue and meadow with some silver and pearl mixatives. I blew the inks around with a straw which I found was a lot easier than the squeezy bubble thing I had used before. I trimmed the piece down and matted it onto some white card. The flower die cut is an Amazon purchase and I added a simple Winnie and Walter sentiment. The card base is pearlescent green.

Thursday 7 January 2021

Dimensional Botanicals


I seem to have more luck with house plant dies than I do with real house plants! This card is made with some more dies from the Dimensional Botanicals Sizzix set that I used in my last post. I have also used another 3D embossing folder called Adorned Tile. It's a dark and gloomy day spirits and weather-wise so apologies for the grey photograph - the card base is actually a yellowy cream not greige. I highlighted the raised parts with Nuvo embossing mousse in Mother of Pearl. The leaves and pot were cut from scraps and I grounded the pot with a scrap that I had previously used to mask off an edge on another project. The sentiment is from a Dovecraft set I purchased recently from Amazon (15 sentiments for £2) stamped with Archival sepia. I backed the pot and the sentiment with foam - I have had some sheets of foam for years and barely used them so this was a good opportunity.

Here's another view showing the dimension of the leaves and the background.


Monday 4 January 2021

More Sizzix Goodies


I've been continuing to play with items from my pre-Christmas Sizzix haul and put together a quick card This uses the geometric lattice 3D embossing folder and a die set called dimensional botanicals. I rubbed some Nuvo embellishment mousse in Mother of Pearl to the raised parts of the embossing and it really made the embossing stand out. The plant pot comes in 2 parts and the plant was cut from a scrap of green card. I mounted it onto a Spellbinders label die for a little contrast. That's it - quick and easy, just how I like it!

Friday 1 January 2021

Happy New Year


 In the absence of fireworks this year I'm posting some flowers to wish everyone joy and happiness in the coming year. This card uses another 2 items from my recent Sizzix haul - layered flowers and a geometric 3D embossing folder. 

I wanted to try the flower dies out so found some co-ordinating offcuts in my pink and green bags. They cut beautifully and are very easy to put together. The background is a 3D folder which I love. It adds so much texture and I think it will be well used. I finished with a small Bright Rosa sentiment raised on foam pads.

If nothing else I managed to rekindle my interest in papercrafts last year and blogged more than in the previous 2 years. Long may it continue.

Related Posts Plugin for WordPress, Blogger...