My inky travels along life's rocky road

Wednesday, 30 June 2021

A Mopped up Thanks


I had a scrap piece of card that I used to mop up some spare Distress Inks that I had used for another project. I wanted to test out a Gemini word die and made the result up into a quick card. I cut the word out keeping all the waste and used foam pads on the back of the word. Having put it into place I fitted the small waste pieces and added a few sequins to finish.


I like the fact that you only see the message clearly when you look at the card from the side.

Monday, 21 June 2021

Stencils from Layering Dies


 Shortly after buying the layering die set I used in my previous post I watched this video by the awesome Jennifer McGuire on using layering dies as stencils. She always gives lots of alternative options on the main theme of the video but I decided to just try out the basic idea which is to die cut the layers and use them as stencils on a card. I used seedless preserves and picked raspberry DIs for the layers and also used stencils made from the 2 centre dies that I didn't use on my previous card. I thought a big bold sentiment would be enough and used a Gemini die with some sparkly purple sticky backed plastic that I've had for ages. I used a purple alcohol ink marker to edge the white card blank to finish it off.

Saturday, 19 June 2021

Peacock Colours


 I bought a Sizzix layering die set called Kaleidoscope Layers recently. It's a set of 4 dies 2 of which I have used on this card (the other 2 are for the centre space). I went with peacock colours for the 2 layers and mounted it on a black card blank after trying various colours. The black gave the most impact and showed off the 2 layers the best. I added some gems and a Marianne die sentiment in the centre.

Friday, 4 June 2021

A New Monthly Challenge


 Having completed the Alphabet Challenge last month we have decided to start a new monthly challenge featuring tags. There are no major rules  - just to have fun. This month the theme is Orange.

I wanted to use my new Stamps By Me Lily stamp and die set and also my Glimmer Mist (decanted) spray in perfect peach. My tags are all going to be 14cm x 8cm.

The dies don't cut out the whole of the lily so I fussy cut the remaining parts and pruned one of the buds off  because it didn't fit. The base of the tag was sprayed with Glimmer Mist over a Tim Holtz stencil called Scribbles (although it looks more like roses to me). I edged the tag with crackling campfire DO and then used watery Twinkling H2Os in ginger peach and golden jade to make splatters over the tag. I lined the tag hole with some washi tape and also punched some photo corners.

The 2-step die was first stamped with Archival tangelo (I wiped the ink off the leaves) and then the detail with Versafine onyx black. I coloured the leaves and stamens with Coloursoft pencils and mounted the image on foam tape for dimension.

The text is from the same set and comes with its own shadow die. It was too long to fit so I cut it in half. I finished with some sequins, a couple of punched dragonflies and some ribbon.


Saturday, 29 May 2021

Shadow Alphabet


There are a lot of shadow sentiment dies around at the moment and after looking at a few I decided to buy a shadow alphabet set of dies. I thought they would come in 2 parts - letter and shadow - but it proved difficult to separate the 2. It's not really a problem as it means you get 2 sets of the die cut word at the same time.

I made 2 quick cards with the letters. The first is a mini slimline card (6.5" x 3.5") for which I used the waste from the die cut. I used a flower stencil and my new blending brushes (I'm loving these) with fossilized amber, crackling campfire and spiced marmalade DO's for the background. I could have just used the waste and floated the black letters in the shadow space but I decided to inlay the shadow and the black letters.

The second card uses the flower stencilled letters and the black shadow. I used the same DO colours with a diamond stencil for the background and mounted it on a white A6 card blank to which I added a border of crackling campfire DO. The flower die cut is from a Tim Holtz wildflower set that was lying on my desk.

Now I have to think up some suitable words for the front of cards...


Thursday, 27 May 2021

Travel Notes


I've been watching a lot of mini-book videos on You Tube recently. There are so many different varieties and I have been trying a few out with old patterned papers. This one is a simple notebook made out of bits and pieces prompted by a thread on a forum about the Bind-It-All. It reminded me that I hadn't used my B-I-A in a long time.

Front

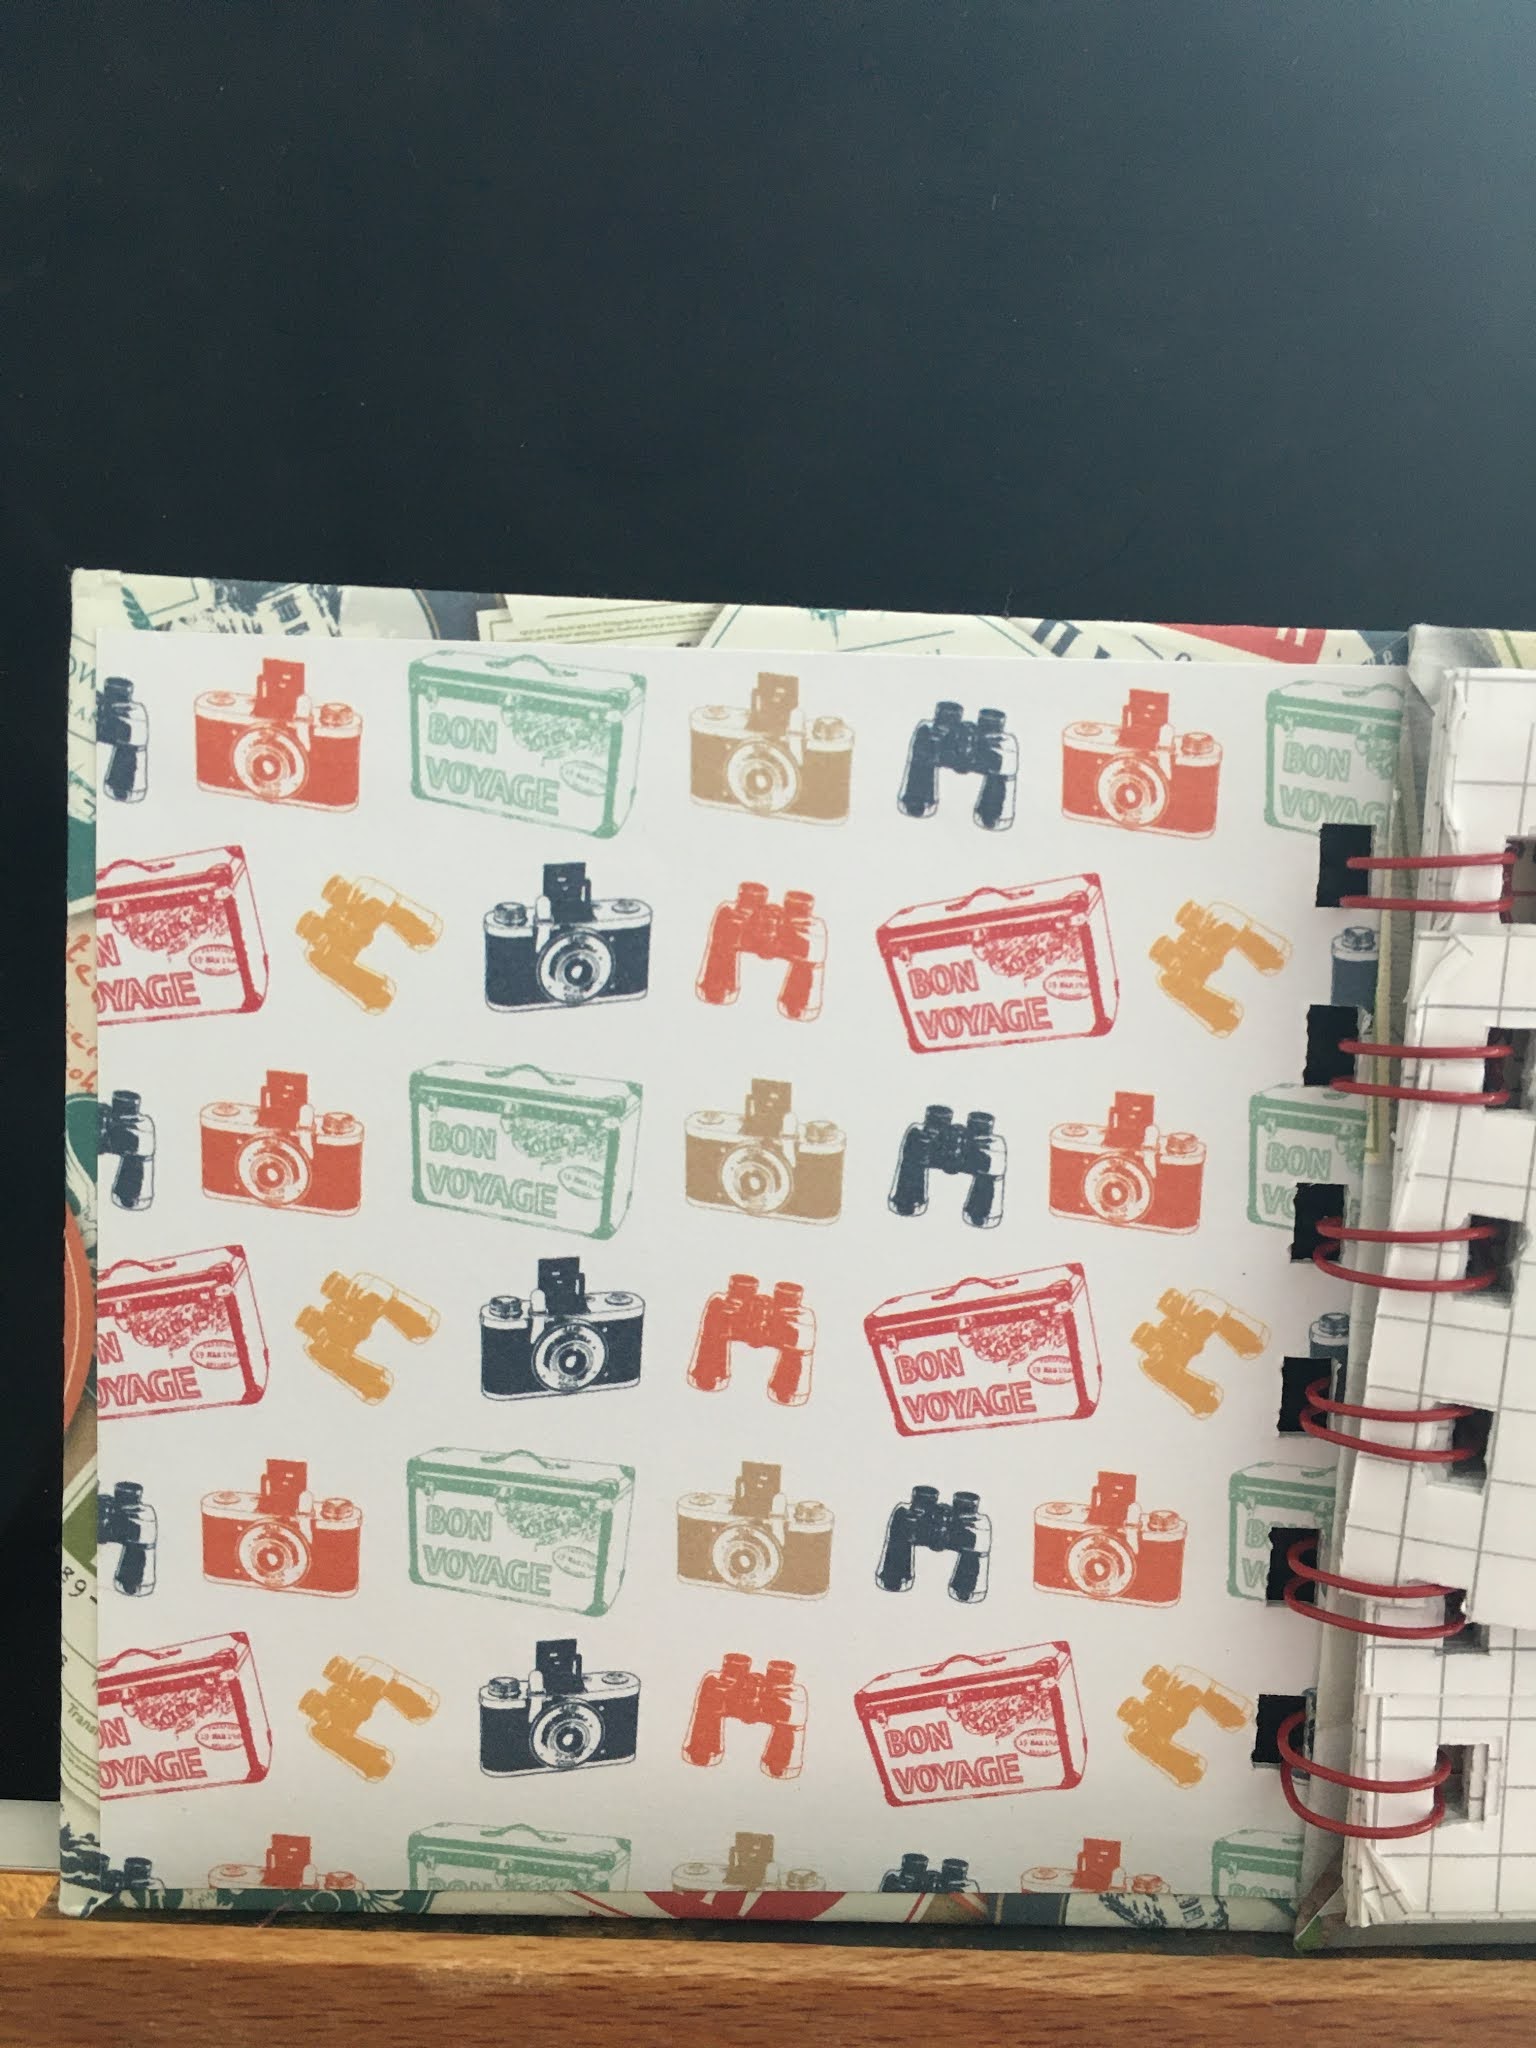
I cut two 9.5 cm squares from heavy card and covered them with paper from Papermania's  All Aboard paper pack. The blank paper inside was cut (9cm square) from my son's old Maths exercise book. I die cut words from Tim Holtz's adventure words script set for the front and back. The front sentiment was getting lost in the patterned paper so I decided it needed a shadow background to help it stand out. I drew around the outline of the die and fussy cut it. This can't be done with all dies but it worked for this one!
Back

The covers and inner pages were bound together with red 3/8th inch wires. I think I'm hankering for a holiday but this will have to do until I can get away!

Inside Back

Inside Front


Friday, 21 May 2021

Lilies

 I recently bought a lily layering stamp set from Stamps By Me. They call them 'lamination' stamps and I have a tulip and dahlia from the same company. This one also came with a co-ordinating die set for all the stamps including shadow dies for the sentiments. Of course I had to have a play straight away...


I have stamped sentiments I already had rather than the ones that came with the set and left one card blank until I know who I'm sending it to.  The outlines were all stamped with Versafine onyx black. For the first card on the left I used Brilliance pearlescent orange and Coloursoft pencils for the leaves and stamens.  I matted it onto some marbled orange paper. I felt this was a little too pale so used Archival bright tangelo next and die cut the flower and frame. The final card uses Brilliance pearlescent orchid and Coloursoft for the leaves and stamens. I used Wink of Stella on the coloured parts of all 3 cards. 


Related Posts Plugin for WordPress, Blogger...